| XLCubed is now FluenceXL. The new wiki can be found here: https://help.fluencexl.com/ |
Difference between revisions of "SharePoint Web Part"
(→Linking XLCubedReport WebParts) |
(→Linking to filter WebParts) |
||
| Line 143: | Line 143: | ||
[[Image:Sharepoint15.png]] | [[Image:Sharepoint15.png]] | ||
| + | |||
| + | ====Limitations==== | ||
| + | |||
| + | Will not work if XLCubedWeb is setup to use Kerberos Delegation | ||
===Customising Progress Indicator=== | ===Customising Progress Indicator=== | ||
Revision as of 14:41, 13 December 2017
The XLCubed SharePoint Webpart, available from XLCubed version 6.5, allows XLCubed Reports to be embedded into SharePoint pages and allows connections between filter web-parts and other XLCubed Report web-parts.
Please note the Report Viewer Webpart will not work in SharePoint 2010 running in IE 8 Compatibility mode against V9 XLCubedWeb.
Please contact support@xlcubed.com if you'd like to gain access to this feature.
Installing
Copy the CAB file onto the SharePoint server, for example c:\inetpub\wwwroot\xlcubedweb\extensions.
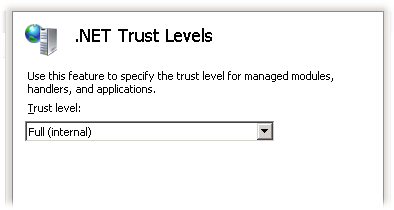
- Enable full trust in IIS - run Internet Information Services Manager.
- Click on the server and select .Net Trust Levels
- Change the trust level to Full (Internal)
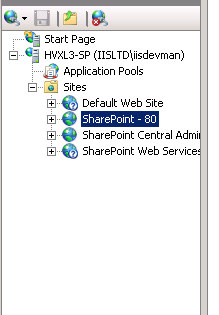
- Enable full trust on the SharePoint website
- Click on the SharePoint website and select .Net Trust Levels
- Change the trust level to Full (Internal)
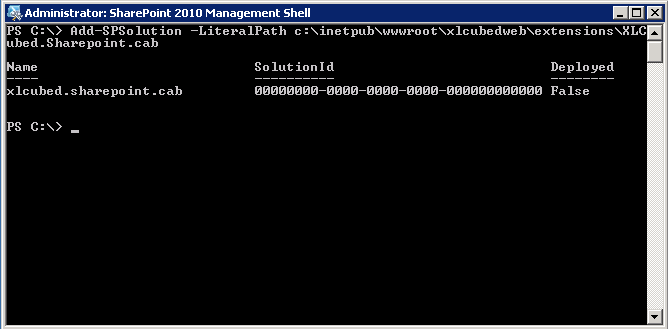
- Run the SharePoint 2010 ManagementShell (Start -> Microsoft SharePoint 2010 Products -> SharePoint 2010 Management Shell:
- Register the .CAB with Sharepoint:
- Add-SPSolution -LiteralPath c:\inetpub\wwwroot\xlcubedweb\extensions\XLCubed.Sharepoint.cab
- Deploy the webpart to the SharePoint websites
- Install-SPSolution -Identity xlcubed.sharepoint.cab -allwebapplications -force
The webpart will now be available in the list of available webparts, under the "Miscellaneous" items
You will need Version 7.5 to run in Sharepoint 2013+
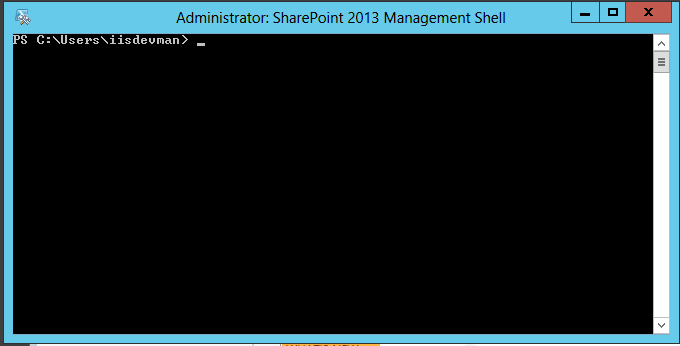
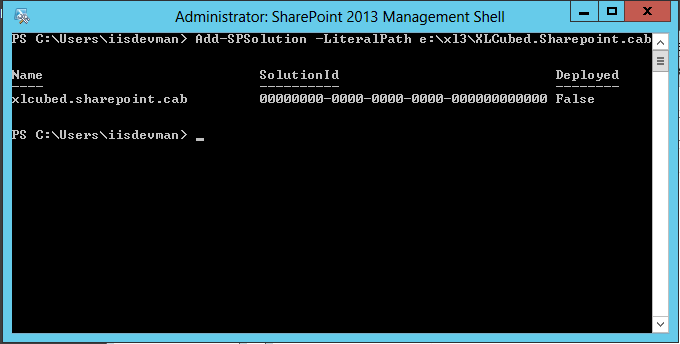
- Run the SharePoint 2013/2016 ManagementShell (Start -> Microsoft SharePoint 201x Products -> SharePoint 201x Management Shell:
- Register the .CAB with Sharepoint:
- Add-SPSolution -LiteralPath c:\inetpub\wwwroot\xlcubedweb\extensions\XLCubed.Sharepoint.cab
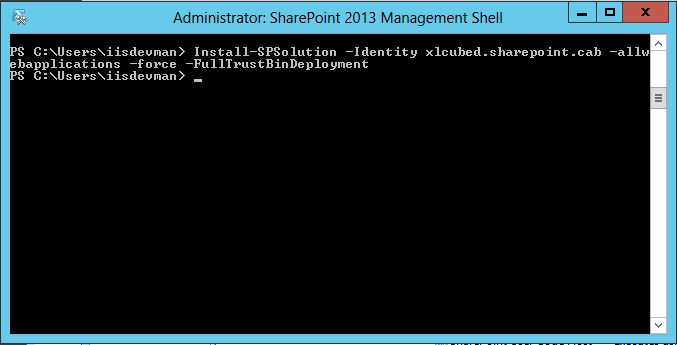
- Deploy the webpart to the SharePoint websites
- Install-SPSolution -Identity xlcubed.sharepoint.cab -allwebapplications -force -FullTrustBinDeployment
The webpart will now be available in the list of available webparts, under the "Miscellaneous" items
Uninstalling
- Run the SharePoint 2010 ManagementShell (Start -> Microsoft SharePoint 2010 Products -> SharePoint 2010 Management Shell:
- Remove the webpart from the SharePoint websites
- UnInstall-SPSolution -Identity xlcubed.sharepoint.cab -allwebapplications
- Remove the .CAB from SharePoint:
- Remove-SPSolution xlcubed.sharepoint.cab
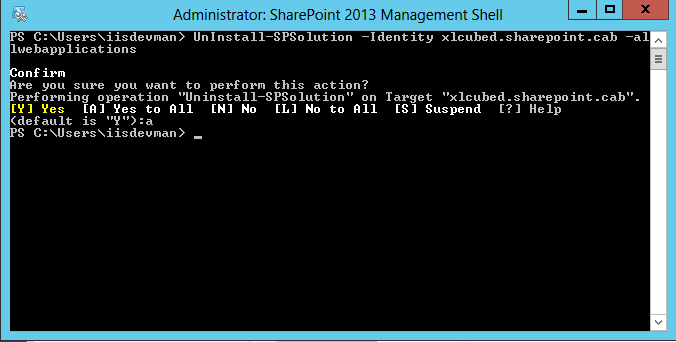
- Run the SharePoint 2013/2016 ManagementShell (As Administrator) Start -> Microsoft SharePoint 201x Products -> SharePoint 201x Management Shell:
- Remove the webpart from the SharePoint websites
- UnInstall-SPSolution -Identity xlcubed.sharepoint.cab -allwebapplications
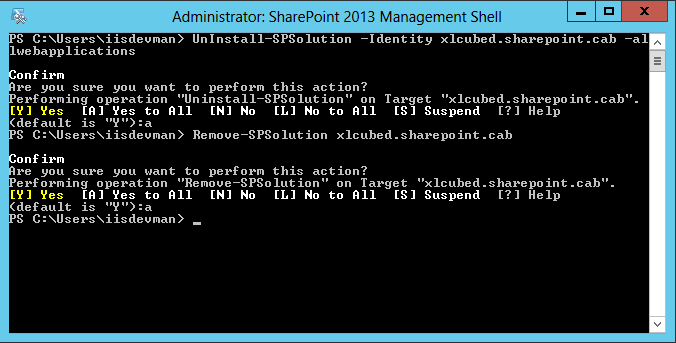
- Remove the .CAB from SharePoint:
- Remove-SPSolution xlcubed.sharepoint.cab
Using WebPart
Configuring
Insert the XLCubed Webpart:
Edit the Webpart:
Setup the XLCubed web server details and click OK:
Now the Report browser button will be enabled:
Click on the button and browse to the report to display on this page:
Give the report a defined height (if not already inserted into a control with a height defined)
Click OK/Apply to see the report embedded in the page
Linking XLCubedReport WebParts
XLCubed Webparts can be linked via Web Parameters - once a link is in place then when the web parameters with the same name are passed between the linked WebParts.
Insert 2 or more webparts in the same page, the select the Connections menu when editing the webpart:
Limitations
Will not work if XLCubedWeb is setup to use Kerberos Delegation
Linking to filter WebParts
XLCubed Webparts can be linked to Filter webparts so that the parameters can be passed into the XLCubed Report - first you would need to defined the Web Parameters to be driven by the Filter control.
Then select the connections menu and Inbound Parameters - select the filter control to receive the parameter from
Select which Web Parameters is to receive the data from the filter:
Limitations
Will not work if XLCubedWeb is setup to use Kerberos Delegation
Customising Progress Indicator
You can change the look and position of the progress indicator by adding the following to the SharePoint web.config (\inetpub\wwwroot\wss\VirtualDirectories\80) AppSettings section:
To change the image:
<add key="ProgressBarUrl" value="http://server/images/image.gif"/>
To change the location (valid values are "xl3-progress", the standard position and "xl3-progress-center" which centers the image)
<add key="ProgressBarCss" value="xl3-progress-center"/>
For more information about setting up the Web Part and XLCubed to work cross domain refer to: SharePoint Web Part Cross Domain
Page Viewer Webpart
There is now an alternate XLCubed webpart control, this allows the display of a single report so cannot be linked with other controls, but is good for the scenario where you have cross-domain issues with the existing web part. It allows the display of a single fixed report or can also be used to display different report passed via the URl.
The following gives an example of how to create a page using this web part.
Insert a "XLCubed Page Viewer" web part and edit it:
Set the height of the web part and change the "Chrome Type" to none:
Fixed Report
Under "Custom Properties" set "Report URL" to the direct report URL, there is more information about how to get that URL here:
Dynamic Report
If you want the report to be passed via the URL then you can enter the "Report URL" using the following form (updating it to reflect the actual xlcubedweb location):
http://servername/xlcubedweb/WebForm/ShowReport.aspx
After setting the properties you should see an XLCubed error message, this is fine it's showing that the page is able to find the server but hasn't been supplied with a report to display yet.
Now you can add a link to the Sharepoint page including an additional "rep" parameter in the URL, for more information about how to generate the information to pass please see Web Reports in Other portals
Web Parameters
You can pass any web parameters to the Sharepoint page you have created and they will be passed onto the displayed report.
Toolbar
To enable the toolbar add:
&toolbar=true
to the "Report URL"
Troubleshooting
If the SharePoint website is in the browser's "Trusted Sites" list then you may need to enable "Access data sources across domains". This can be found in the browser's Tool -> Internet Options form, under "Security" click "Custom" for "Trusted Sites".

