| XLCubed is now FluenceXL. The new wiki can be found here: https://help.fluencexl.com/ |
Difference between revisions of "Gaps"
(→Video Demonstration) |
(→Video Demonstration) |
||
| Line 9: | Line 9: | ||
==Video Demonstration== | ==Video Demonstration== | ||
To insert a grid break, click on the row/column member where you wish to insert a break. Go to the Grid Ribbon > Gap. | To insert a grid break, click on the row/column member where you wish to insert a break. Go to the Grid Ribbon > Gap. | ||
| + | |||
[[File:Grid_ribbon_gap.png|center|thumb|650px]] | [[File:Grid_ribbon_gap.png|center|thumb|650px]] | ||
| + | |||
| + | |||
This will then insert an empty row/column below the specific member like shown below: | This will then insert an empty row/column below the specific member like shown below: | ||
| + | |||
[[File:gaps.gif|center]] | [[File:gaps.gif|center]] | ||
| + | |||
If you wish to delete a Gap, simply right click in the first cell of the Gap > Calculation > Delete Calculation | If you wish to delete a Gap, simply right click in the first cell of the Gap > Calculation > Delete Calculation | ||
Latest revision as of 16:12, 11 March 2020
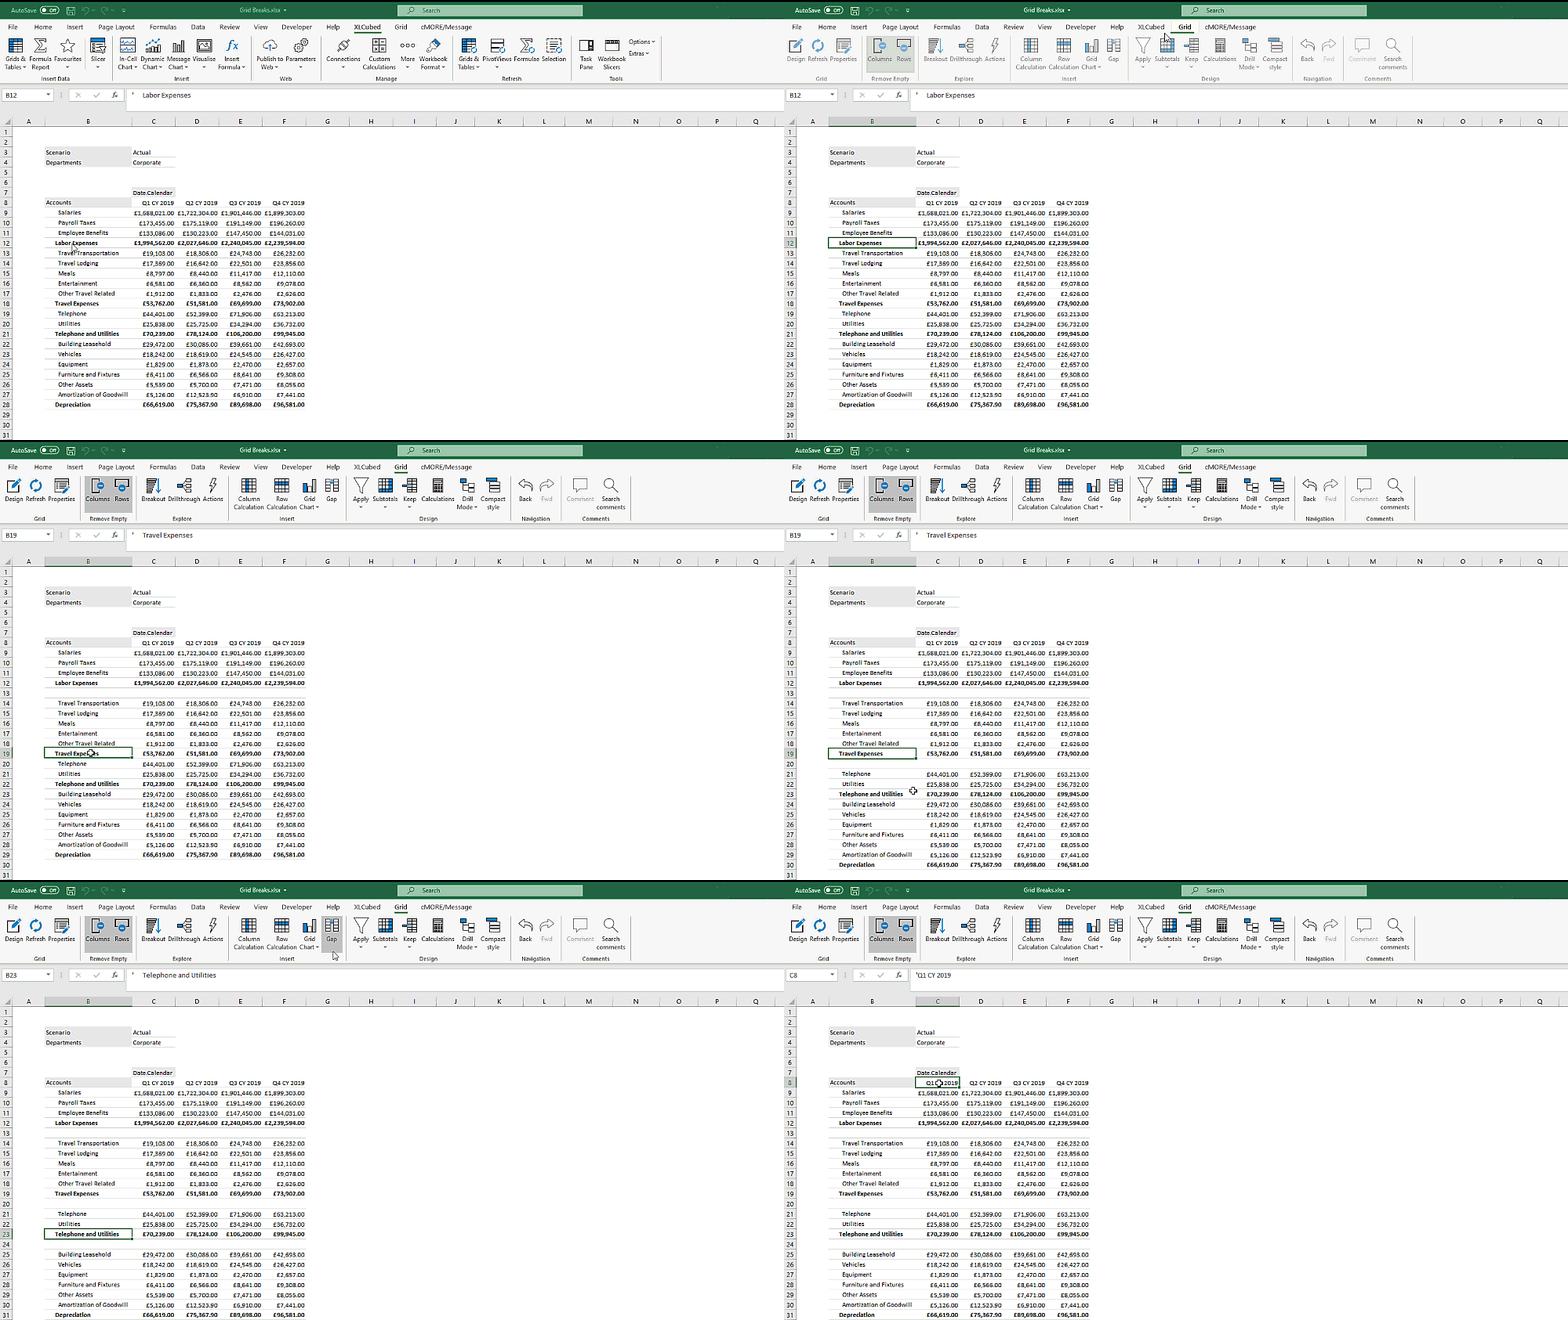
Gaps provide an easy addition of a row or column break within a grid for presentation and layout.
Here the gaps subsection the grid by the parent Account level, making it more concise and easier to digest the information.
Video Demonstration
To insert a grid break, click on the row/column member where you wish to insert a break. Go to the Grid Ribbon > Gap.
This will then insert an empty row/column below the specific member like shown below:
If you wish to delete a Gap, simply right click in the first cell of the Gap > Calculation > Delete Calculation


